If you are looking to make a drink such as a latte or a cappuccino, you will need to know how to steam and/or froth milk. Doing this is not simple at first. But, once you get down some key steps in the process you’ll not only be able to make a drink that is creamy and smooth, but you’ll also be able to go the next step with latte art.
There are some machines that will help you to steam and froth your milk. Some fully-automatic machines have the capability to allow you to put milk into a container and the machine will do everything for you. Likewise, there are also electric milk frothers that allow you to put milk into a frother and simply push a button. When it’s done, it automatically shuts off. These machines are ok, but very often, they will not give you the consistency you looking for. In this article, we will key in on what is needed to froth and steam milk.

Step 1: Prepare the milk before the espresso or coffee
Unless you have a machine that allows you to pull the espresso and steam milk at the same time, do your milk first. You always want your espresso as hot as possible and since the steaming the milk will take a little time, it is best to steam your milk first.
When preparing, make sure you keep your milk as cold as possible. In general, you can use any milk you wish. But, 2 percent and whole milk tends to have the best flavor.
Step 2: Purge the steam wand and position it for steaming.
In order to prevent extra water from getting into the milk, run the steam through the wand for a few seconds before even doing anything. This will force out any condensation that may have formed in the wand.
Step 3: Add the milk into a clean metal pot
This one seems pretty straightforward, but there are some key points that you should note. First, use a clean metal pitcher that can hold about twice as much as the amount of needed milk. For example, if you need 8 ounces of milk, use a 16 ounce pitcher. The reason is that during the steaming/frothing process, the milk will expand. You will want to make sure you do not spill milk everywhere. Once you have a properly sized pitcher, fill it half-way with milk.

Step 4: Froth first
If you want to have milk froth, you want to do this first. Milk will froth better when it is colder. So, froth it and then once you have the amount that you want, you can warm the milk to the needed temperature.
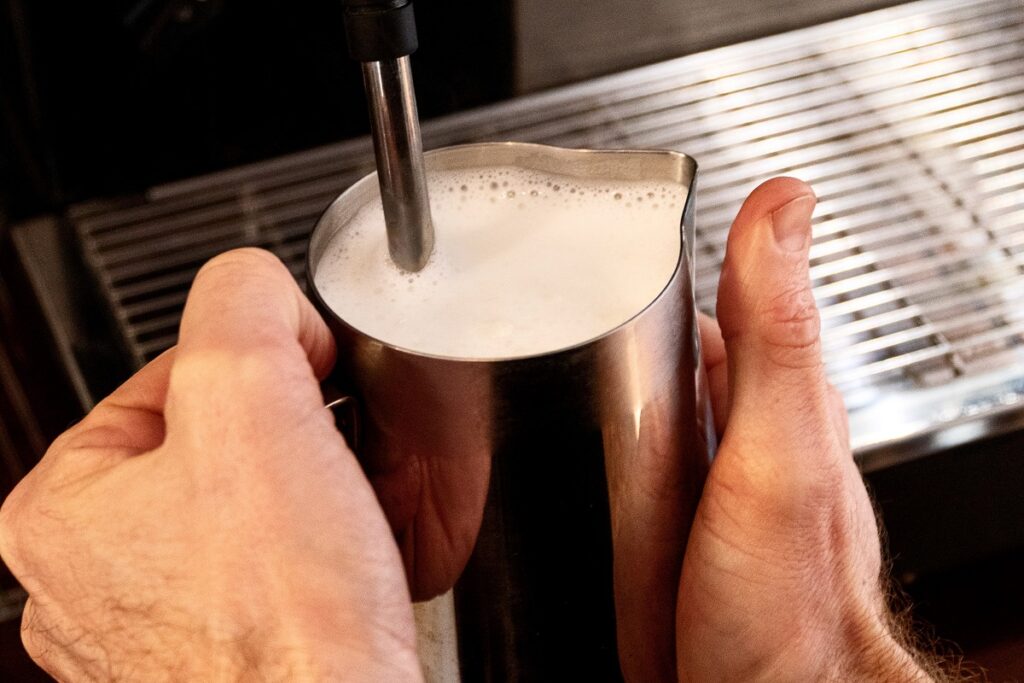
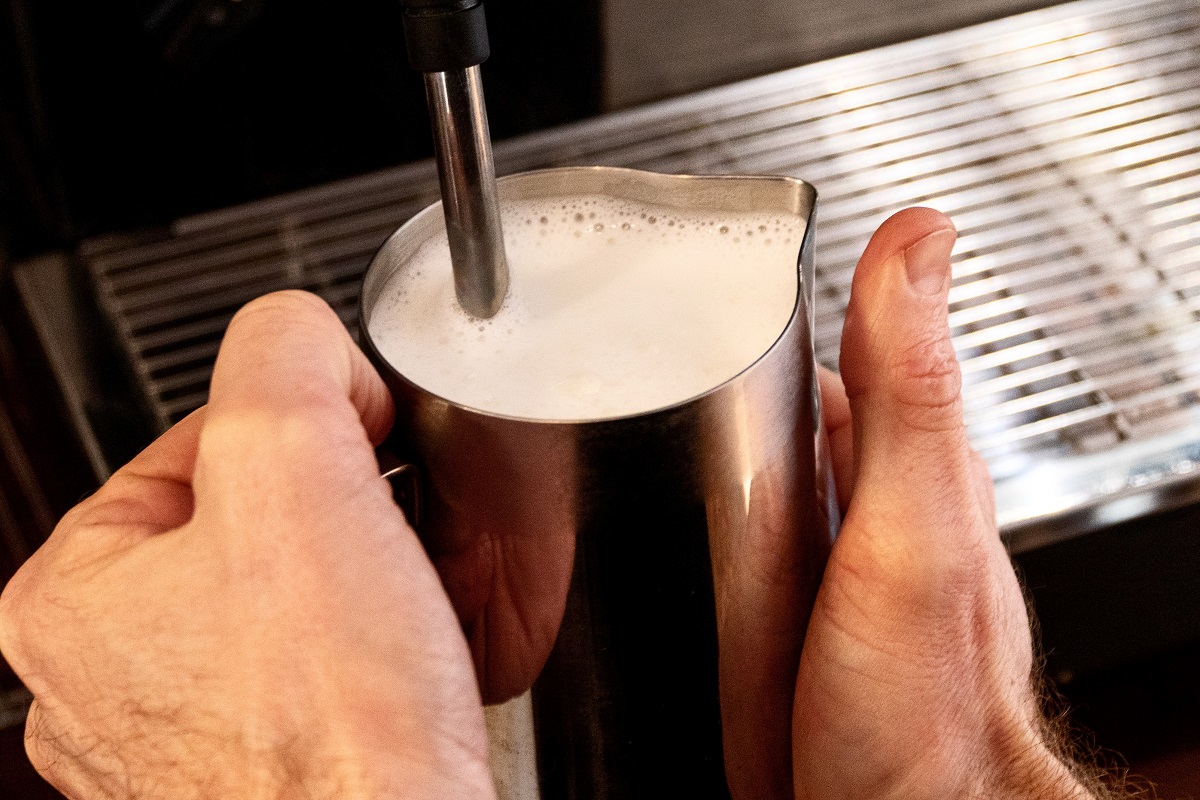
To froth, turn on the steam wand and put the wand fully into milk. Gradually pull it up near the top of the milk until it starts to suck in some air. The milk will be incorporating the air and expand. This is known as “stretching” the milk. Continue this until you get the desired amount of foam. If you do not want froth and only are looking for steamed milk, skip this step.
Step 5: Steam the milk to 140 degrees.
Once the desired amount of foam is created, dip the wand into the milk to heat it. You should no longer by incorporating air into the milk. As you are learning, it is a good idea to use a thermometer to help you get the milk to 140 degrees which is the ideal temperature you are looking to get. Once this is reached, stop steaming the milk. The milk will continue to heat to 150 to 160 degrees after being pulled from the steam wand.

Step 6: Purge the steam wand
It is very important to run the steam into the wand and purge the wand from any milk deposits remaining in the want. Otherwise, the milk will stay and the smell of the old milk will ruin your machine. Once you have purged the wand, wipe it clean with a cloth.
Step 7: (optional) Latte art
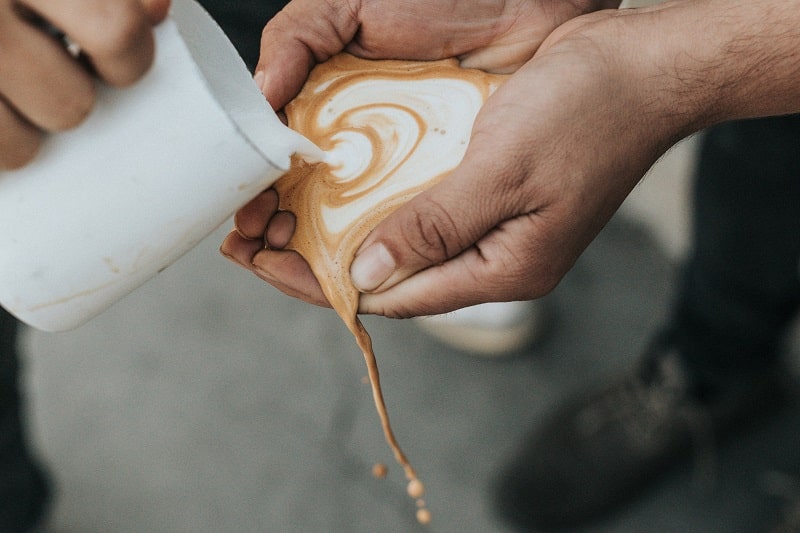
One fun thing to do with steamed milk is latte art. If you are looking to add art, there are a few things to note. First, you want to make sure you do not have too much foam in your milk. Too much foam those not make good latte art. Also, when you are done with steaming the milk, you want to tap the pitcher and swirl it to break up any bubbles in the milk. You want to get a smooth milk that resembles wet paint when you swirl it. If you are interested in adding latte art, we have another page dedicated to just that subject.
